Last updated: October 2026 • By Abid Ali
Learning to turn image into AI video used to require hours of keyframe animation — today, a static illustration, product mockup, or architectural render can become a short animated video clip in minutes. Today, image-to-video AI tools—such as Google Flow (powered by Veo models) and similar creative platforms—allow beginners to generate 4-to-8-second camera movements from a single reference image.
For official guidance, see the Google Flow Help Center and the Veo model page from Google DeepMind.
However, most beginners run into the same frustration: faces warp, background objects melt, or the camera moves too fast. This guide walks through a practical, repeatable 4-step workflow to turn image into AI video with clean, usable motion — without wasting generation credits.
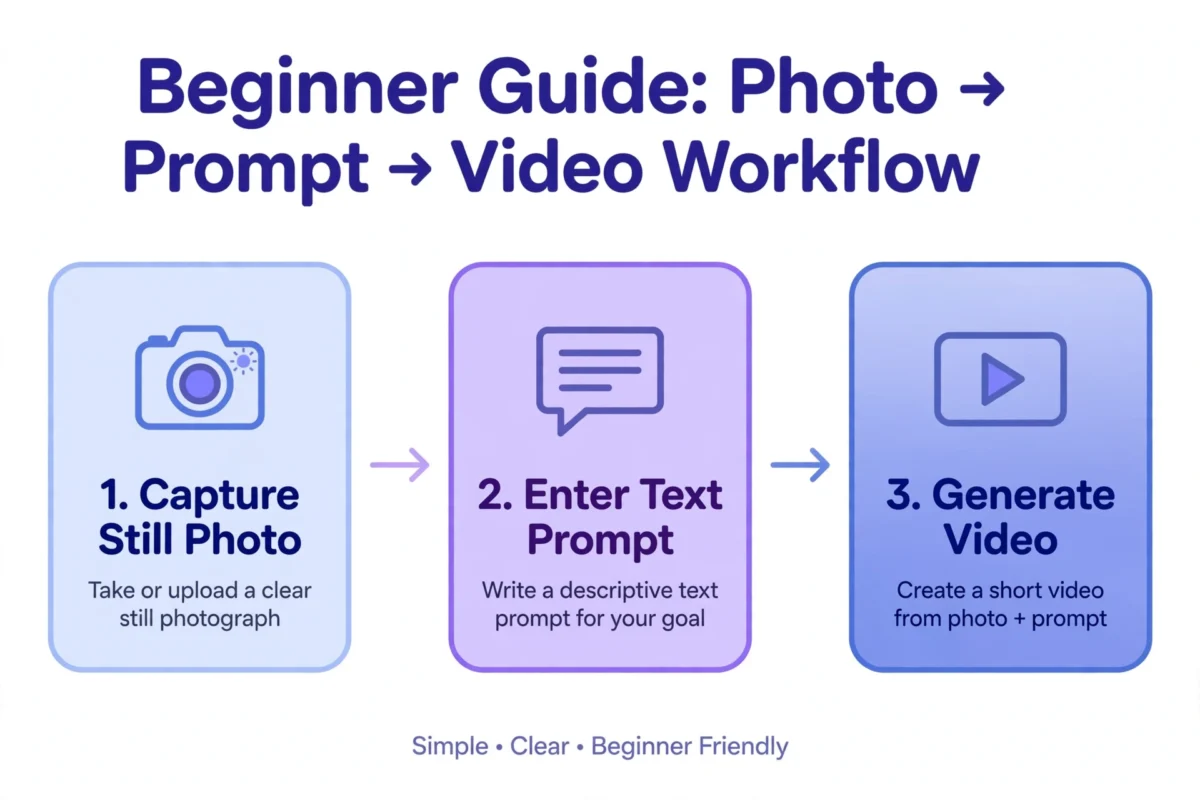
Who This Workflow Is Suitable For
- Content Creators & Educators: Adding subtle motion to B-roll illustrations or title cards for YouTube Shorts and Reels.
- Designers & 3D Artists: Creating a gentle camera pan across a static interior render or moodboard concept.
- Beginners: Learning how image-to-video prompting differs from text-to-image prompting.
Step 1 — Prepare the Still Image and Write Your Prompt
Image-to-video tools do not “understand” physics the way a 3D engine does; they predict pixel movement based on your starting frame. Before uploading an image:
- Match Your Final Aspect Ratio First: Crop your image to 16:9 (horizontal) or 9:16 (vertical) in an editor like Canva or Photoshop before uploading.
- Avoid Small Text in the Background: AI video generators frequently scramble small background text or signage as the camera moves. Add text overlays after generating the video using a standard video editor.
- Ensure Clear Subject Separation: Choose an image where the main subject stands out clearly from the background lighting.
The biggest beginner mistake is asking the AI to perform three actions at once (for example: “The person walks forward, waves their hand, picks up a coffee cup, and the camera zooms out”). Instead, use this simple three-part formula when prompting an image-to-video tool:
- Camera Action: Specify ONE camera movement (slow dolly-in, gentle pan left to right, or static locked tripod shot).
- Subject Micro-Motion: Keep subject movement minimal (subtle natural breathing, leaves swaying gently in warm sunlight, or soft steam rising from the cup).
- Stability Constraint: End with “steady framing, consistent lighting, no morphing.”
Example Copy-Paste Prompt:
“Slow cinematic dolly-in camera movement toward the desk workspace. Soft morning light through the window, subtle dust motes floating in the air, steady framing, consistent object geometry.”
Expect a short clip where your still image moves naturally — for example, a slow camera push across the scene. Review it once: if the motion looks smooth and nothing warps, keep the take. If the motion looks wrong, adjust your prompt and generate again.
Step 2 — Generate the Clip
Upload your prepared image to the image-to-video tool and paste in your prompt. Start with the default settings — do not change advanced options on your first try. Generate two or three versions of the same prompt. Small differences between takes are normal, and having a few options makes the next step much easier.
Step 3 — Review and Pick the Best Take
Watch each clip from start to end at full screen size. Look closely at faces, hands, and the edges of the frame — this is where AI motion breaks first. Pick the take where the movement looks smooth and natural. If every take has warping or melting, change one thing in your prompt (for example, slow the camera down) and generate again instead of settling for a broken clip.
Step 4 — Trim, Polish and Export
Open your chosen clip in any video editor. Trim the start and end so the motion begins and ends cleanly — the first and last half-second often look weak. Add text overlays, music, or your logo only after the motion looks right. Export in the same aspect ratio as your still image, then watch the final file once before you publish it.
Advantages and Honest Limitations
- Advantages: Fast ideation for moodboards, background loops, and atmospheric B-roll without needing complex 3D camera rigs.
- Limitations: Hands, rapid human movement, and fine typography still frequently distort. Always inspect your clip at 100% screen size before publishing, and trim the final 0.5 seconds in a timeline editor if motion begins to drift.
Next Step for Your Workflow
Want five more copy-paste prompt frameworks for planning short videos and checking design quality? Try our free starter prompts on the Free Downloads page, or browse our AI & Tech Tutorials for more step-by-step guides.
Frequently Asked Questions
How long does it take to turn image into AI video?
Most image-to-video tools generate a 4-to-8-second clip in one to three minutes. The real time goes into preparing a clean reference image and writing a good motion prompt — budget 15 to 20 minutes total for your first attempt.
Do I need a paid plan to turn image into AI video?
Not to start. Most platforms offer a free tier with limited monthly credits, which is enough to test the workflow in this guide. Upgrade only when you are generating client work regularly.
Why do faces warp when I turn image into AI video?
Faces warp when the prompt asks for too much motion at once, or when the face is small or low-resolution in the source image. Use a single slow camera move, keep faces large and front-facing in the reference image, and add any text overlays after generation in a video editor.